How-To Tips for Using Images on Your Blog
You’ve heard the phrase: “cash is king.” Well, now content is king. The internet is a visual world, and if you’re not making the most out of your blog images, you could be missing out on readers and endless opportunity.
Even if you have spent hours writing the perfect article with well-researched information and more, if there are no photos or worse—photos that only distract from your blog content, it could be pointless.
Now, the good thing is adding photos is a fun way to show your personality through your post and cement your branding. And it’s easier than ever to find high-quality free photos in literally every category!
Finding the Images
For my blog, I try to make sure I take my own photos of my dogs, so all my content is unique and personable. But, I get it—we all get busy and it can take hours managing photoshoots with the dog.
There are a few sites you can utilize for beautiful images that are free, like Comfight, Uplash, Pixabay and Flickr. Make sure to credit if necessary.
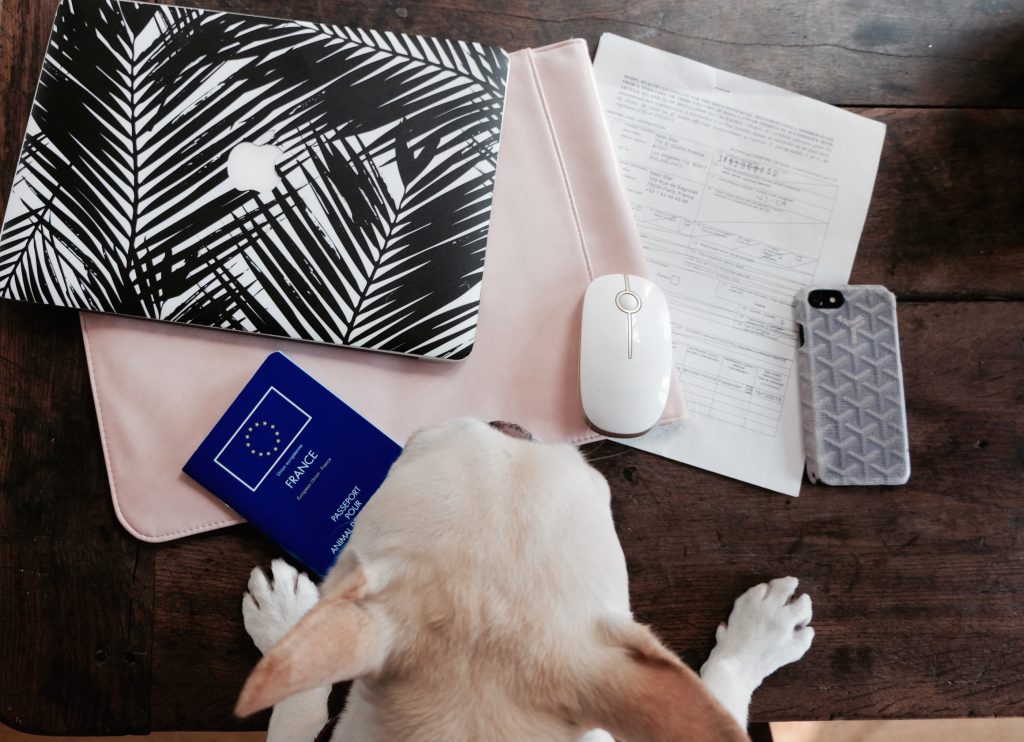
For one of my posts, I found a travel-themed photo on one of the aforementioned sites but when I uploaded it, it didn’t look right on my blog, and it really bothered me. I immediately took out my camera, set up a table with my laptop, papers and a passport. With my Frenchie Weston added into it, it finally looked perfect! With just a little extra effort, my blog post went from okay to great.
How to Choose
You want images that portray the story you are telling but also think of the bigger picture—choose images that fit your “look” and branding the best. This will help create a cohesive flow on your website when a visitor scrolls through. I usually add around three to eight images per post.
Where to Position?
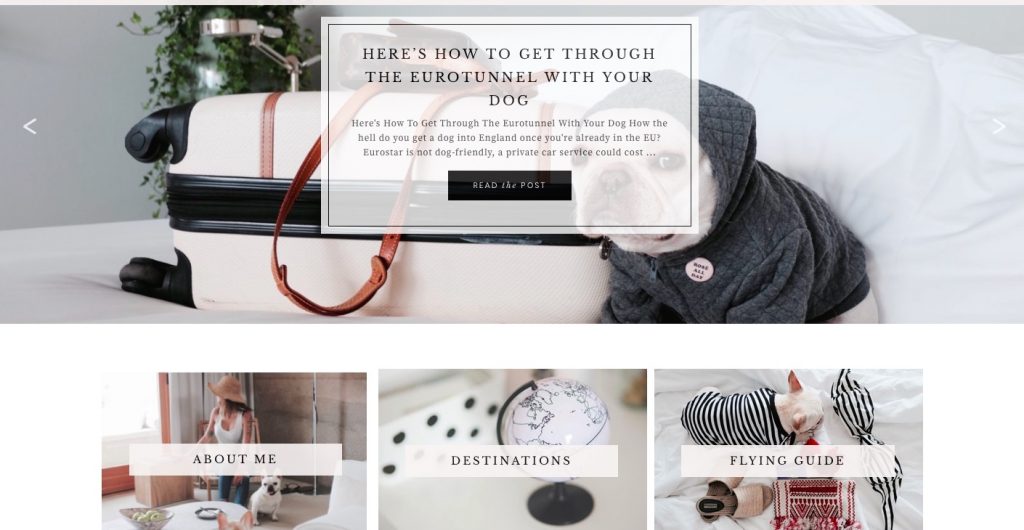
Placing an image at the top of your post without having to scroll captures your readers’ attention and sets them up for absorbing your blog content.
Align images center or to the right of your post.
Resize your photos. Although your photos will usually fit into the screen width, if your photo is 2000x2000px, it will slow down your website’s loading times, which can lead to viewers leaving your blog.
You also don’t want your reader having to scroll down large photos. It’s a good idea to start your post with a larger hero photo to grab their attention, but any photos that are filling in your blog content can be smaller (ie: 600x600px). I like my images in the middle of my blog post to be smaller or even two squares side-by-side.
If you’re on WordPress, there’s an amazing plugin called Smush It which compresses and optimizes all your uploaded images automatically. Your photos and blog will load faster which is a win-win for everybody!
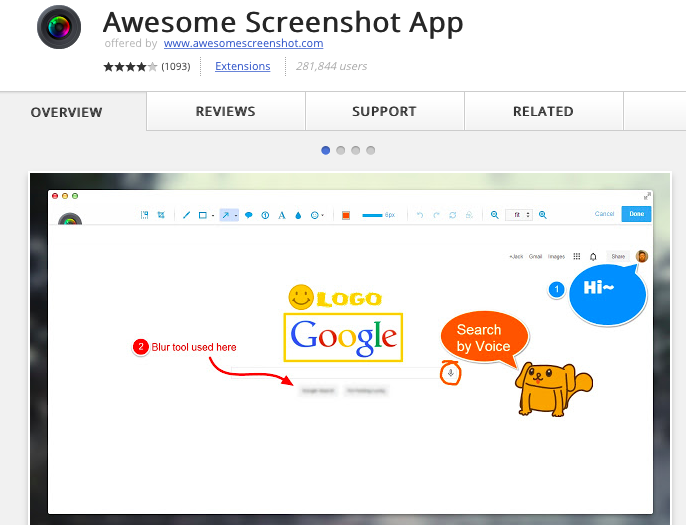
Screenshots
Sometimes screenshots will be necessary when you’re trying to show your reader something specific. Google Chrome has an app Awesome Screenshots where you can add annotations and more.
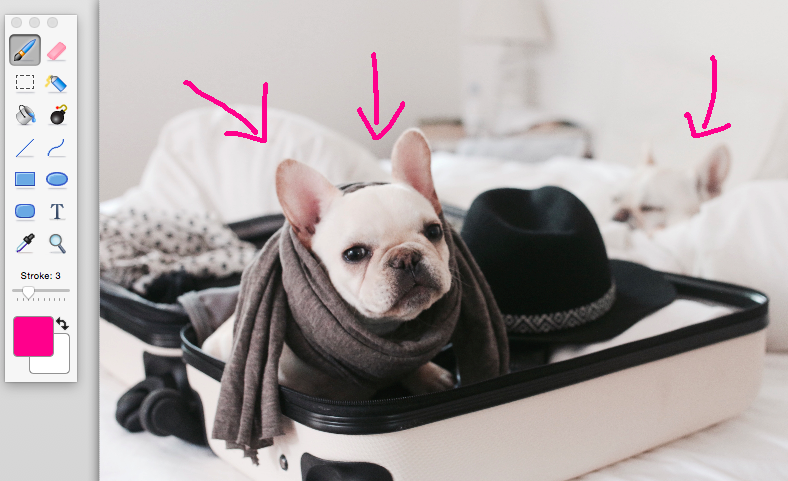
Or go old-school and use the trusty Paintbrush application (I will always have a soft spot for Paintbrush!) and draw on arrows, text or circles.
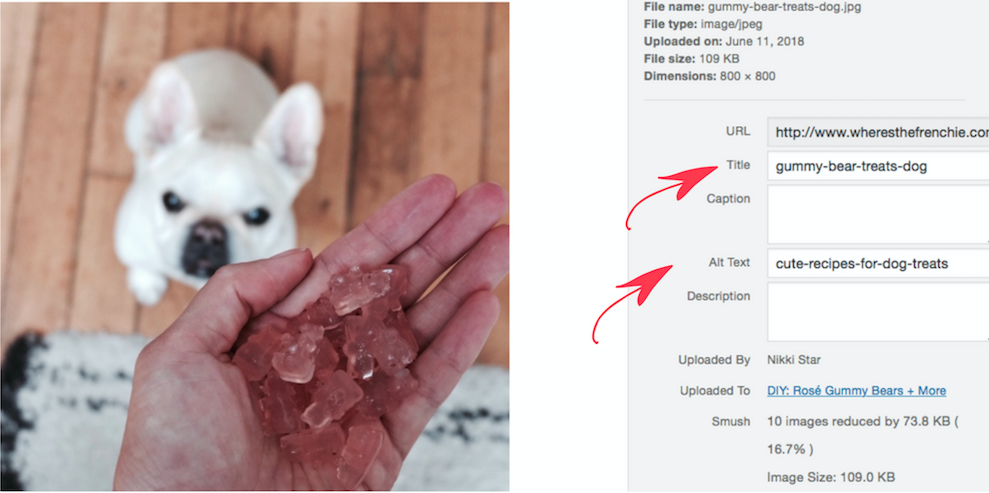
Alt Text + File Names
If your image name is something like “img_3810”, please update it! This is a great place to take advantage of SEO as Google also searches through image file names. I like to do a mix of describing the image (french-bulldog-in-bath) or adding my name + blog name in there too (wheres-the-frenchie-nikki-star-best-dog-grooming-shampoos). That way if someone saves your photo, your name will already be in it and searchable for credit.
All and all, always make sure every image has a purpose in your blog content and adds, rather than distracts. With these tips, your photos will work seamlessly throughout your post, keep your readers on your blog longer and craft content that is visually engaging and fun to read.