How to Take the Best Pet Pictures for Instagram
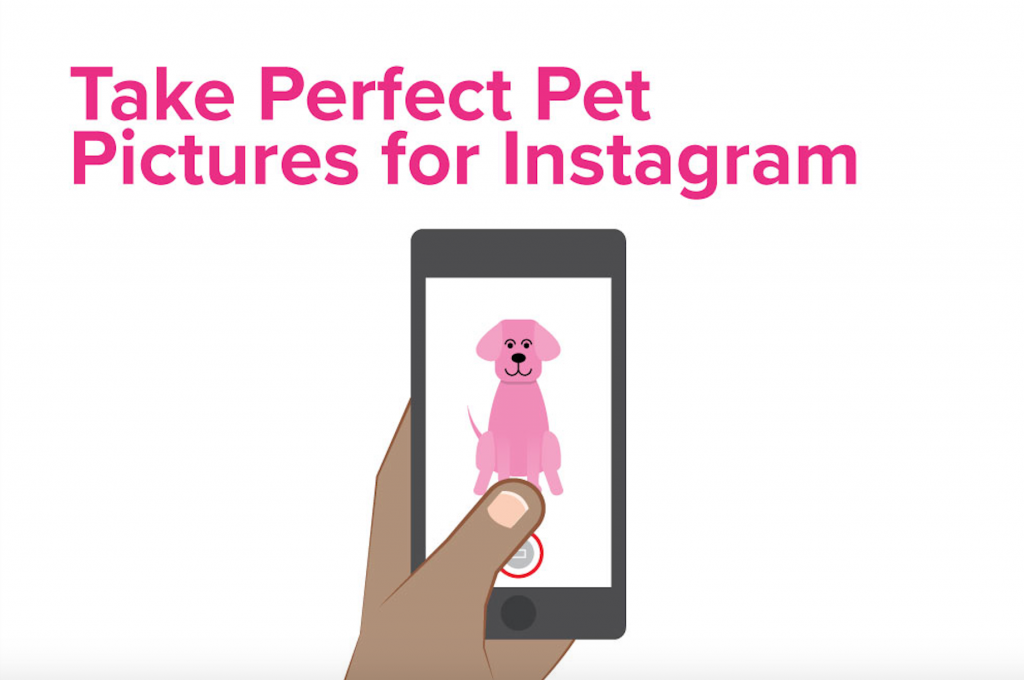
So, you have the best-looking pet, you think (of course you do!)—but there is always room for improvement, and you’ve decided you want to up your photography game to take the best Instagram photos of your furry friend.
Whether it’s to get the best pet pictures on your Instagram to catch the eye of your favorite brands or to show your friends just how truly adorable Fido is, there are some tips and tricks you should know so that you can get the most out of Instagram.
First of all, every pet is adorable and unique in their own way, so it’s only natural pet parents LOVE to share their silly antics and boop-worthy faces within the squares of Instagram.
In fact, it’s not just this generation that’s been busy photographing their four-legged ones—it’s also been part of timeworn customs dating back to Ancient Rome where dog paintings were believed to protect homes.
So, let’s begin and discuss how to take the best Instagram photos of your pet.
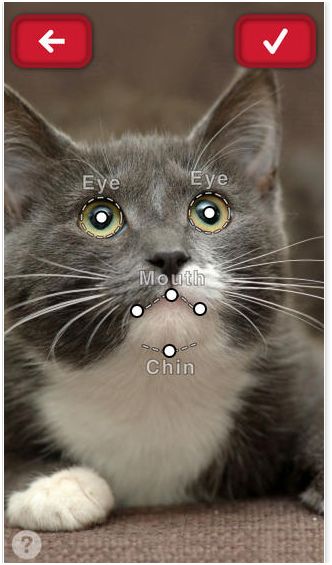
First, be sure your furry one is completely comfortable with your phone or camera. It’s important to let them have a little sniff and turn off the flash! Not only could it startle them, but it also doesn’t make for great photos. The flash isn’t the most flattering and causes red-eye (just like in photos of humans).
Have plenty of treats nearby, and if they are really food-motivated, I recommend some “high value” treats like pieces of chicken, steak or peanut butter. Their eyes will be gleaming in the photos.
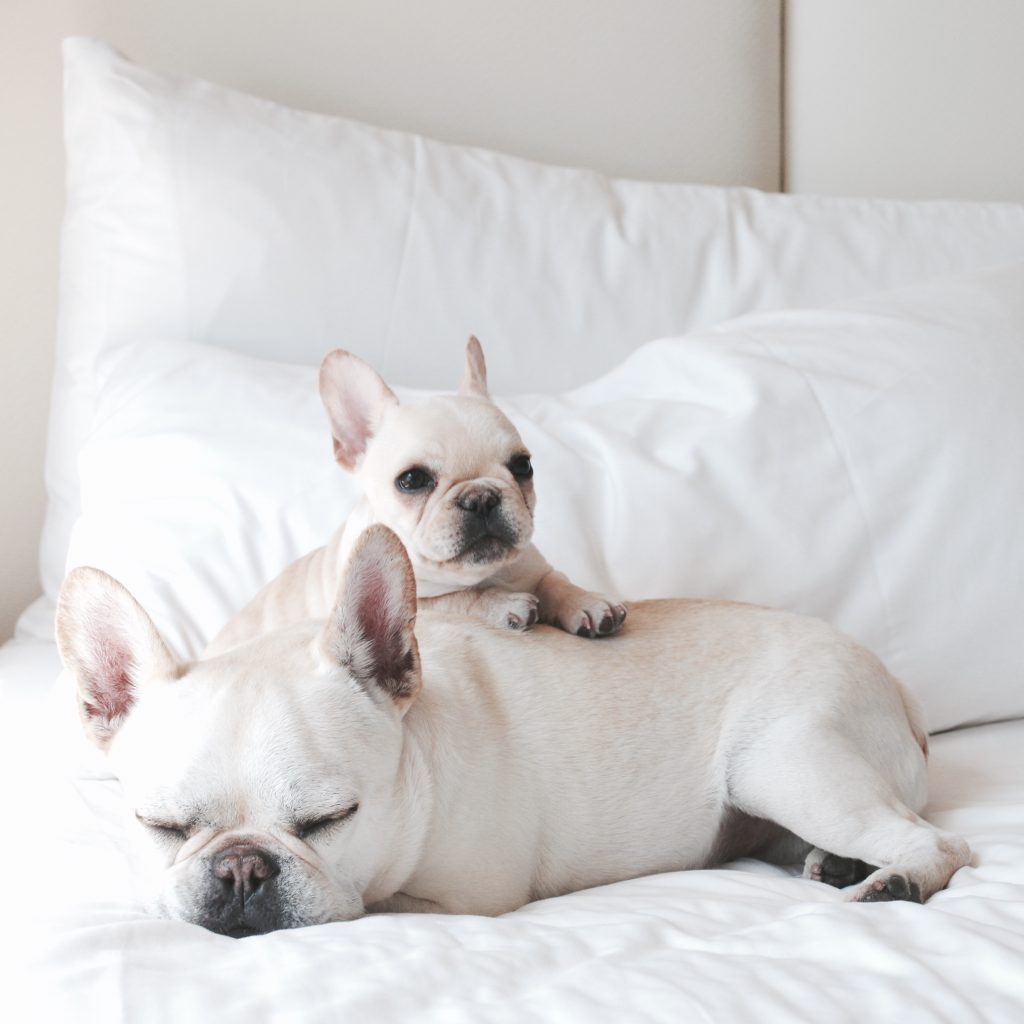
Outdoor lighting is best for photos of pets. It’s most natural and truly captures them in their element. I’ve learned that one of the most important skills in taking photos of your pet(s) is patience. Sometimes you can tire yourself out getting them to pose and look your way, so just lie down, get on their level (literally and figuratively!) and relax. They will eventually get comfortable and rest their head between their furry paws, which makes for the cutest photo and once they’re still, you’ll get even better photos with crisper focus. My pups are quite used to me hovering around them with my camera.
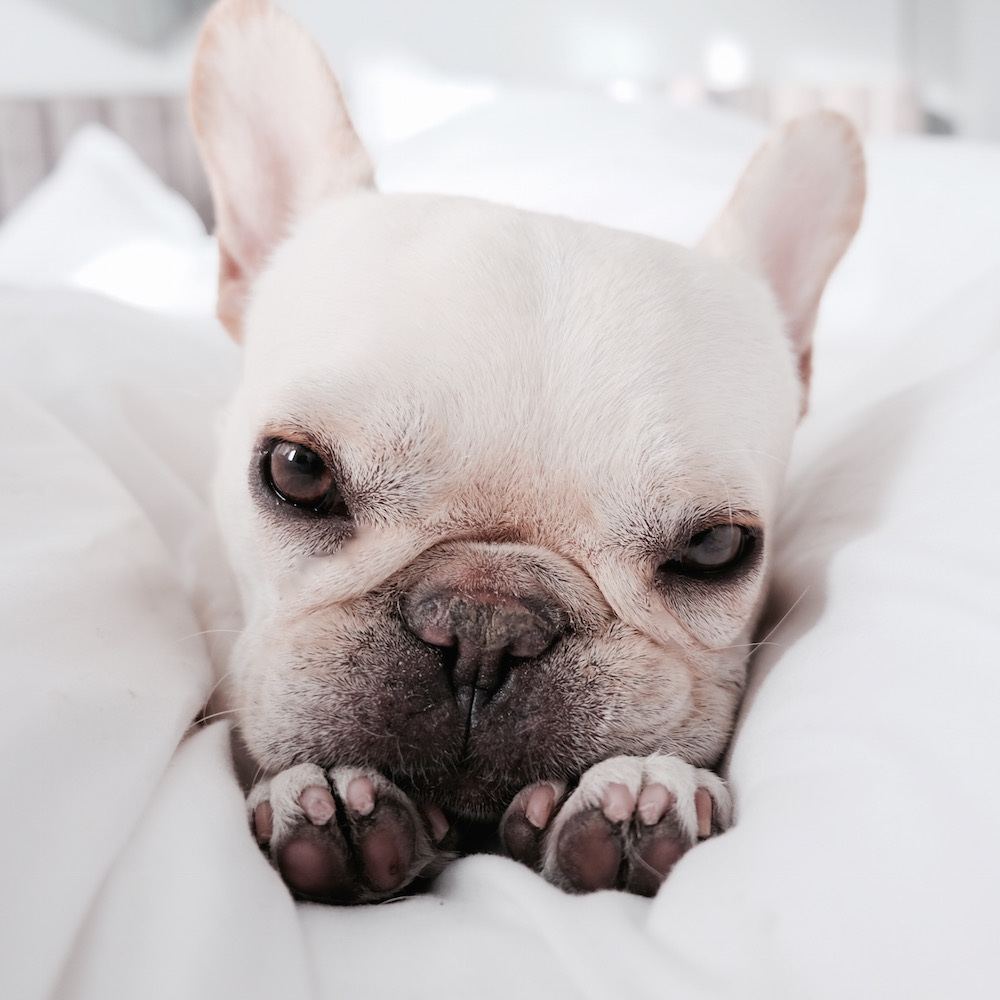
Whether you’re indoors or outdoors, keep the background minimal, so the focus is on your pet. I like to keep my pets centered and cropped in if needed, so they are the main focus. Avoid uneven shadows if possible. If I’m outside, I prefer to shoot away from direct sunlight as it can be too harsh and wash them out. Although, if you have a dark-colored dog, this can actually work to your advantage.
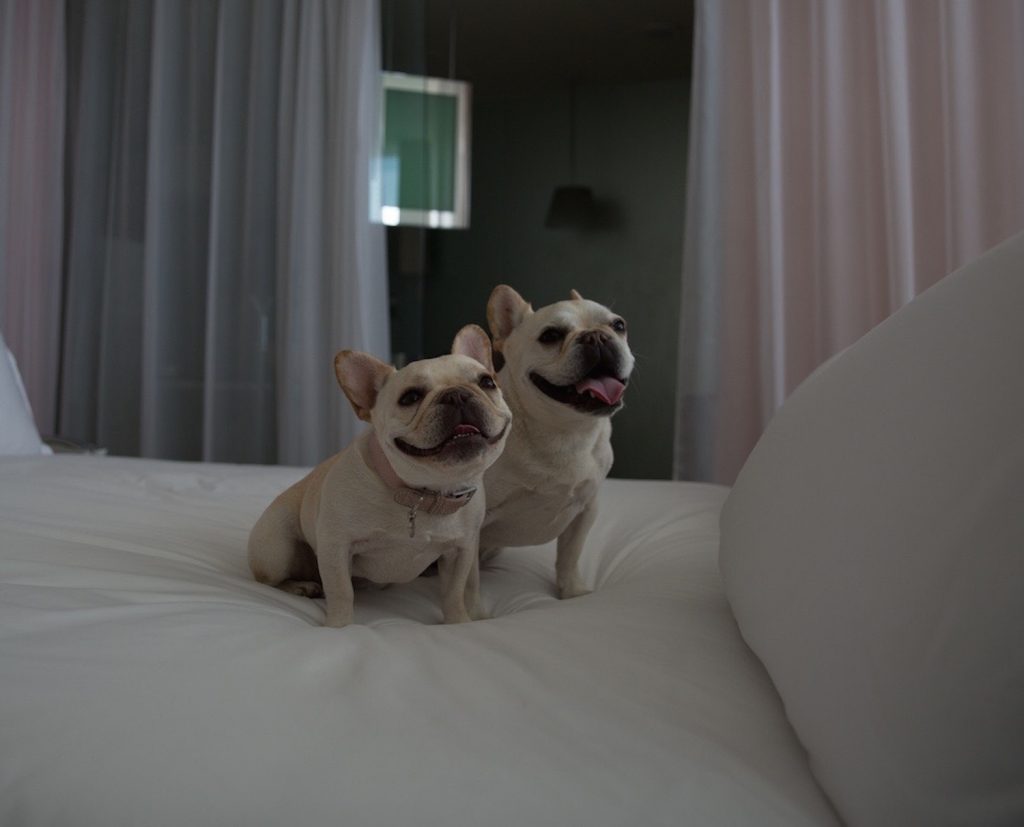
Here is a photo of Weston and Fira on a hotel bed. You can see although there was some outdoor light coming in through a window, the photo is dark and definitely needs color-correction.
There are plenty of free image editing apps (VSCO, Snapseed) but I usually use Instagram’s filters and editing as it has what I need and is more convenient.
First, let’s crop this into a square.
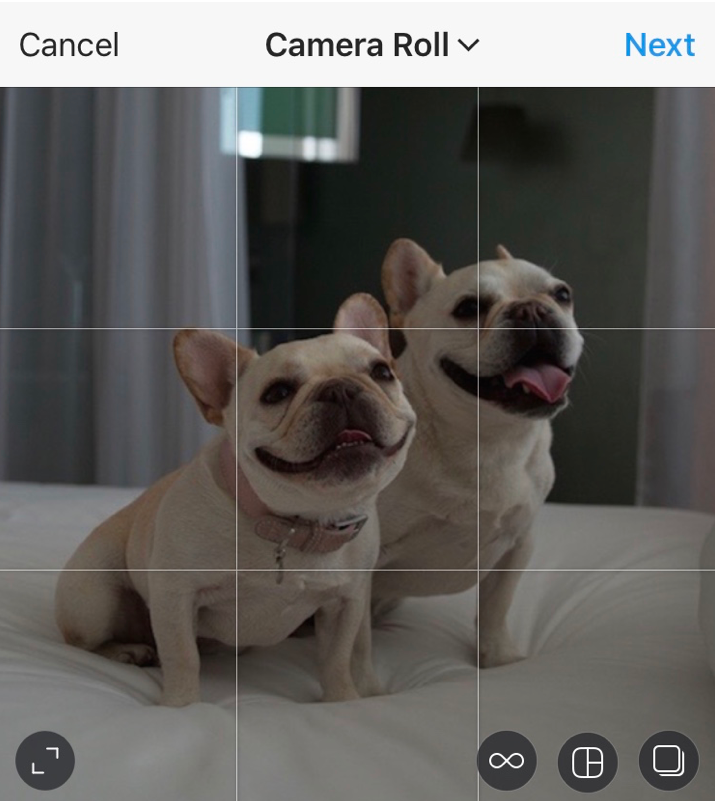
When you choose your photo to upload on Instagram, touch the screen with your thumb and middle finger to zoom in and out. What this does is adjusts the cropping size; they even provide a grid as a guideline to help center your photo.
Now you can edit brightness, contrast, shadows and more.

On this photo, I adjusted the brightness, contrast, highlights, shadows and sharpened with Instagram’s tools. I like my photos to show off how creamy, soft and white they are, so these settings are a must. After you brighten and remove shadows, your photo could look a bit grainy and less focused so always make sure to sharpen to increase the details.
The final step is to hit “Share,” and your new photo is now live.
Pro tip: make sure to use a handful of hashtags in your caption and watch the “likes” grow.
Nikki Star is a creative director and loves to travel with her two French bulldogs Weston + Fira @WTFrenchie. She provides travel tips and city + lifestyle guides on her blog Where’s The Frenchie for the modern dog owner.