How to Create Share Worthy Pictures
Guest post by Felissa Elfenbein, BlogPaws Blogger Outreach and Communications Manager
Earlier this week I posted a three part question in the community for the Monday Musing Question of the week I asked if you put a lot of thought into the images that you share. I received a lot of feedback that while you want to be creating shareable images you just don't think yours are as good as what other people are able to create.
Here is the same picture of Indiana looking like she is sticking her
tongue out at this bone. I thought it was kind of cute even though it
was really a motion shot and didn't turn out well. That is why I knew
this would make a great example image.
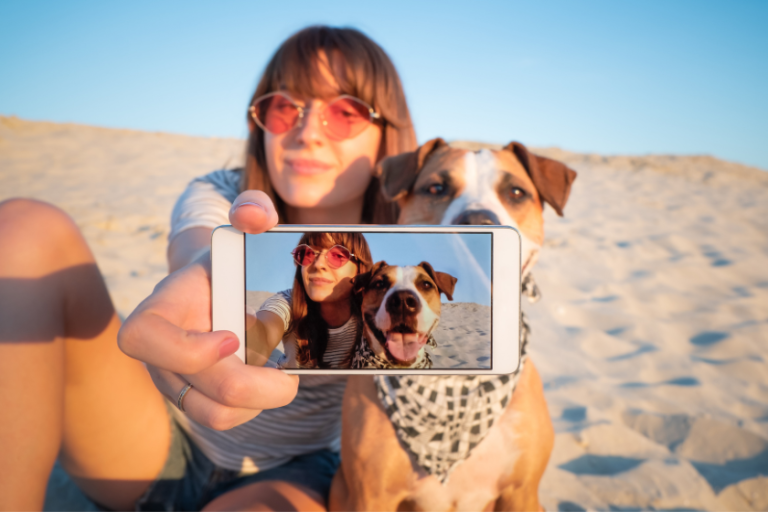
One version unedited, one edited. It was taken late this afternoon
with an iPhone. Any edits done to either picture were done using
picmonkey.
The first version of the picture the only edit to it is that it was
resized. The second version of picture was cropped, resized, and I used
the color/neutral picker tool to edit out the yellow of the late
afternoon sun to bring out the white in Indiana's coat.

While some BlogPaws community members are professional photographers by trade or took photography in high school or college many bloggers are no better with a camera than you are. They follow some very simple tricks to try and get their pictures looking the best and here they are:
1. Take a lot of pictures. With digital cameras who cares if you take 10 pictures of the exact same thing.
2. Turn off the flash and turn out the lights in the room. The flash along with indoor lighting produces a yellow hue to your pictures which you want to try and avoid.
3. Take your pictures using natural light. Open up the blinds. Figure out what time of day you get the best light and take your pictures then. Even for staged product shots use natural light. Go outside and photograph them. Use a white backdrop like a clean bedsheet to get rid of background interference. Use a tray and cover it with a white piece of fabric and then arrange whatever youe are trying to take a picture of on top of that.
5. Take the picture from different angles. Experiment. You might find that you develop a signature angle to shoot from.
6. Use whatever camera you have. It is true the better the camera you have the better your pictures will turn out, but not everyone has the budget for a DSLR camera for their blog.
7. Visit Pinterest and look for pictures you like and really evaluate them.What did they use for a background or backdrop what angle was the picture taken from what time of day was the picture taken.
8. Use a tool like picmonkey, or Ribbet, or Gimp to edit your photos. All of these tools offer a free version that you can use to clean up your image.
9. Name your images so that if someone goes to pin it the description is included.
We'd love to hear how your next photo shoot turns out!
Great advice! I love taking shots of animals from ground level so you can see things from their point of view. For editing on my mobile device, I use apps like Instagram and Snapspeed – with a little bit of tweaking you can produce artsy-looking photos that highlight exactly what you wanted to get noticed in the original unedited photo. But be careful not to overdo it with the filters!
This is all really awesome, and useful information! I love seeing practical photography advice that does not require a DSLR.
I am going to give it a try! Thank you so much, Felissa.